Sunday, March 29, 2015

Painting with Gelatos

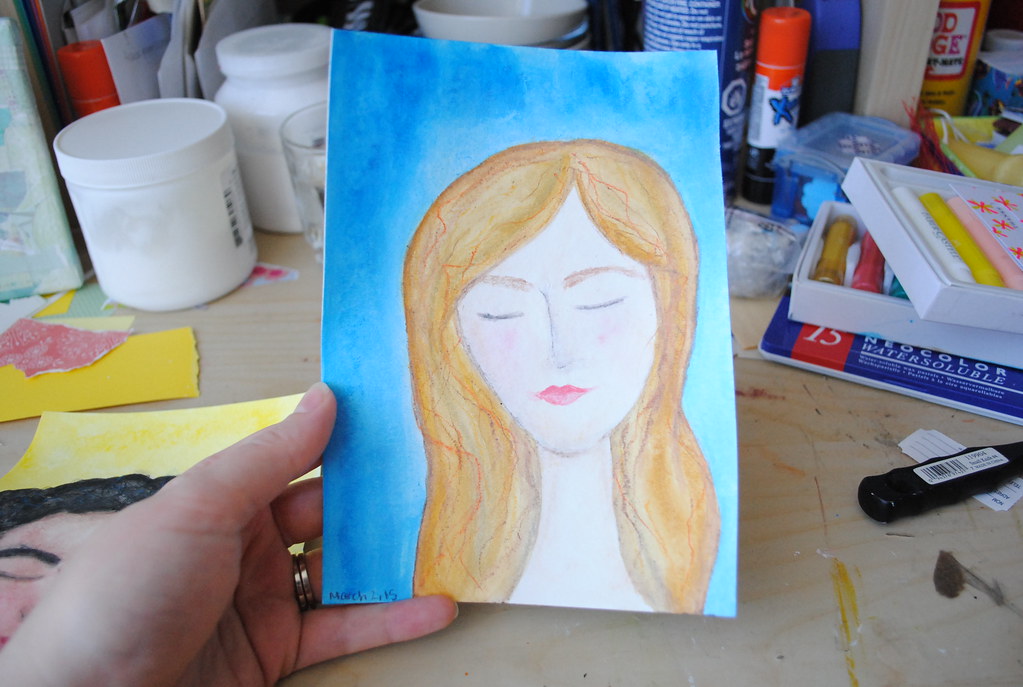
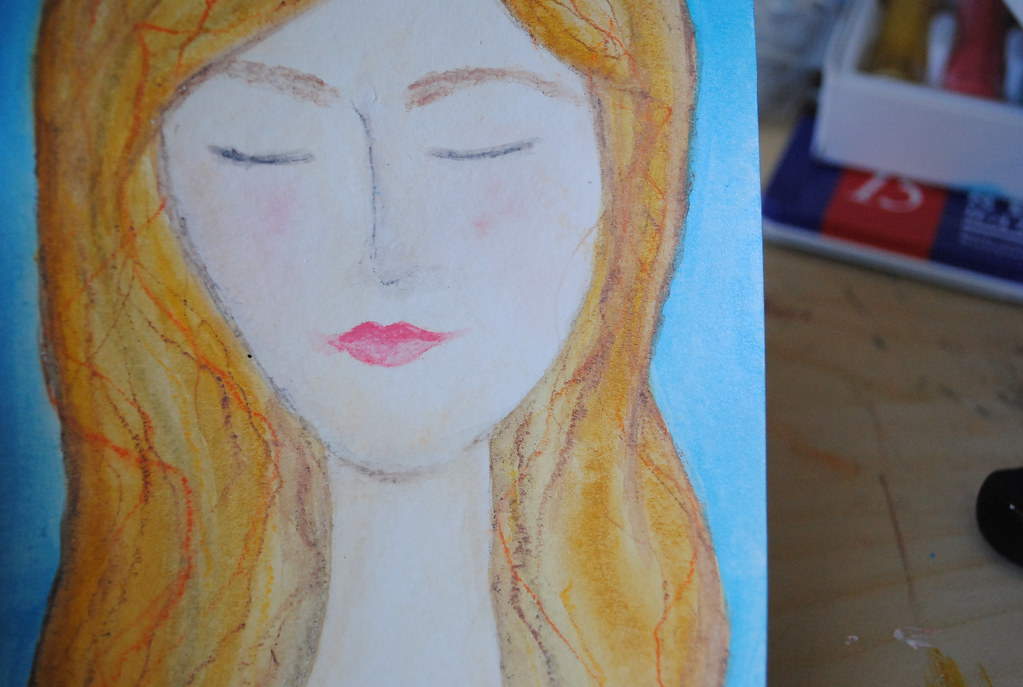
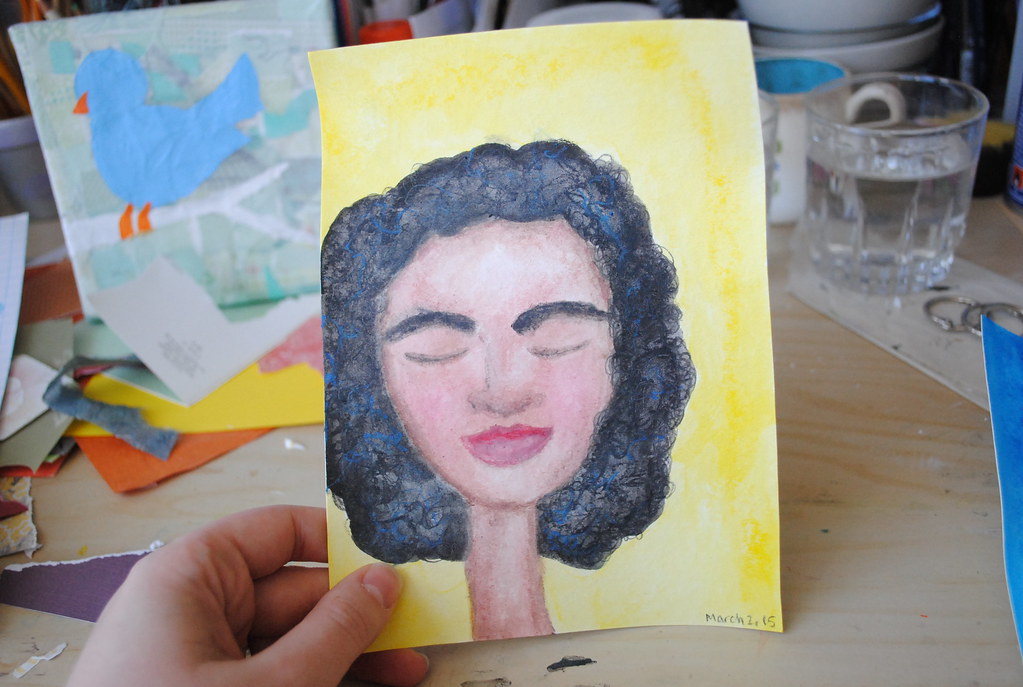
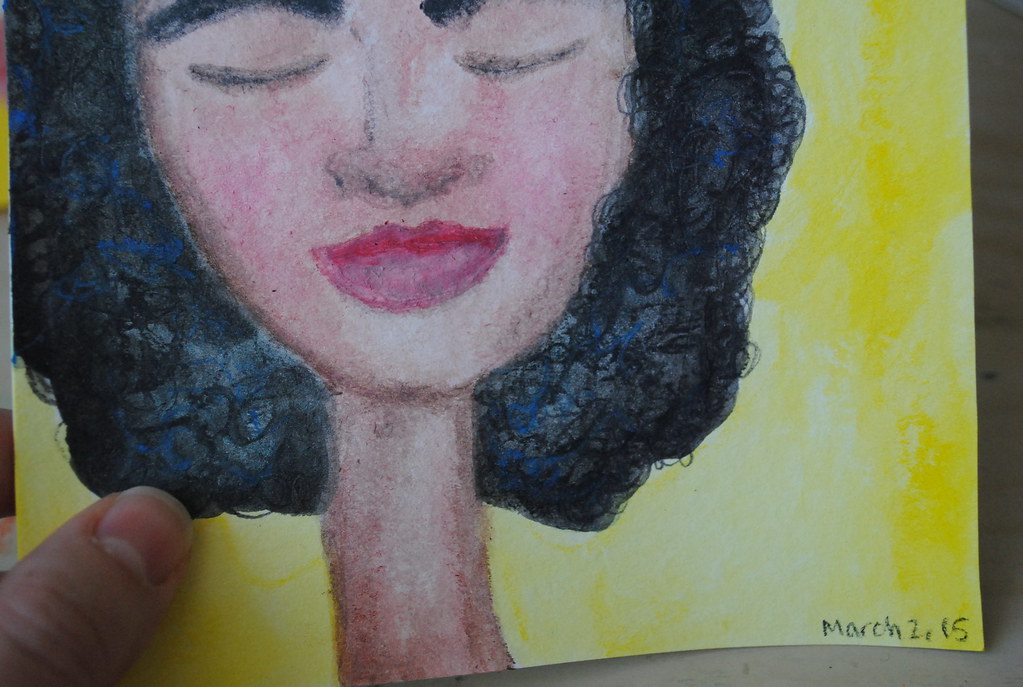
At the beginning of March, I saw this video on Donna Downey's blog and just had to try painting with my gelatos! Of course, my subject matter had to be my signature girls - the video did have a great tip on drawing hair that I just had to try. Here are the results:
I started with the red-head. I sketched her outline, then painted with my gelatos, adding details with gelatos, Neocolor II and watercolour pencils. The background came last, and based on the results I thought it'd be better the other way around (background colour first)... So of course I had to make another. I'm really happy with these - I'll definitely be trying it again. In my opinion, it's watercolour with a bit more control. Fun!
Saturday, March 28, 2015

Crescent Moon

I try to wake up earlier than I need to most week days - either to go to the gym (something I'm not as consistent about as I'd like to be... and something that will no longer be available once we move) or just to get ready for work at a more leisurely pace. Last week, I'm so glad I managed to crawl out of bed before 7 - this view was my reward:
I'm going to miss our enormous bank of east/south-facing windows... but I won't miss the heat generated from the sun pouring in those windows (and the inability to control when the A/C gets turned on).

Thursday, March 26, 2015

New Home!

I hinted at some big happenings going on over here, and things are pretty finalized now so I feel comfortable sharing: Pat and I bought our first house!
Not the most flattering photo, but I was just so excited to see that "sold" sign! Last time we were there (for the house inspection), the sign still wasn't up, so when I saw it last week when we took Pat's parents to see the new place, I just had to get a picture. It was very exciting to show them and see it as officially ours. We get the keys on April 13th and plan on moving that week. I can't wait!!!
Saturday, March 21, 2015

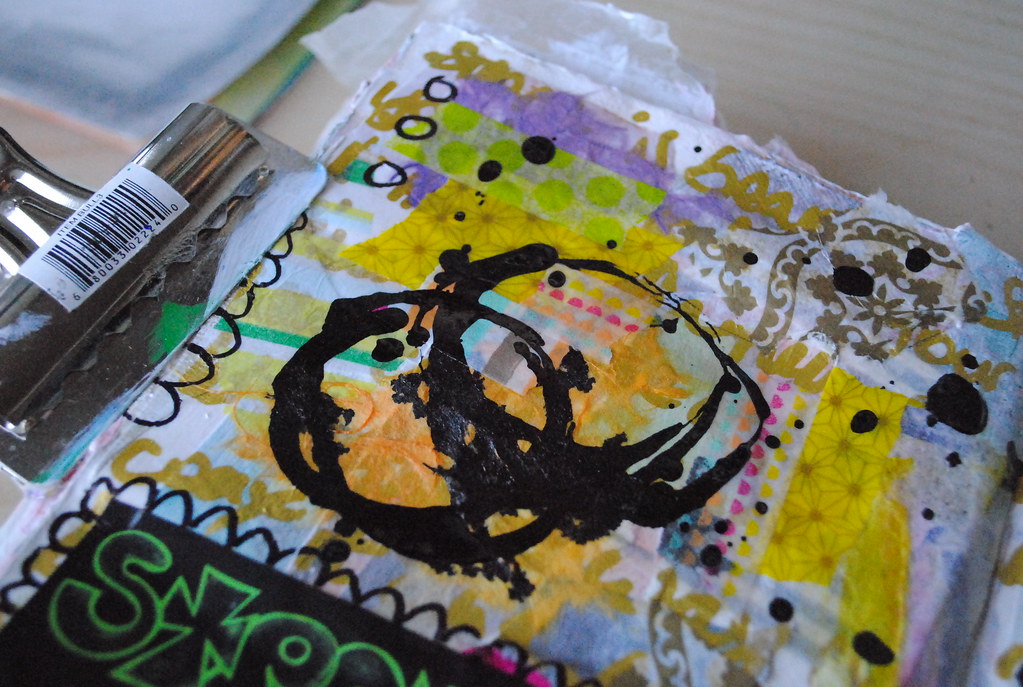
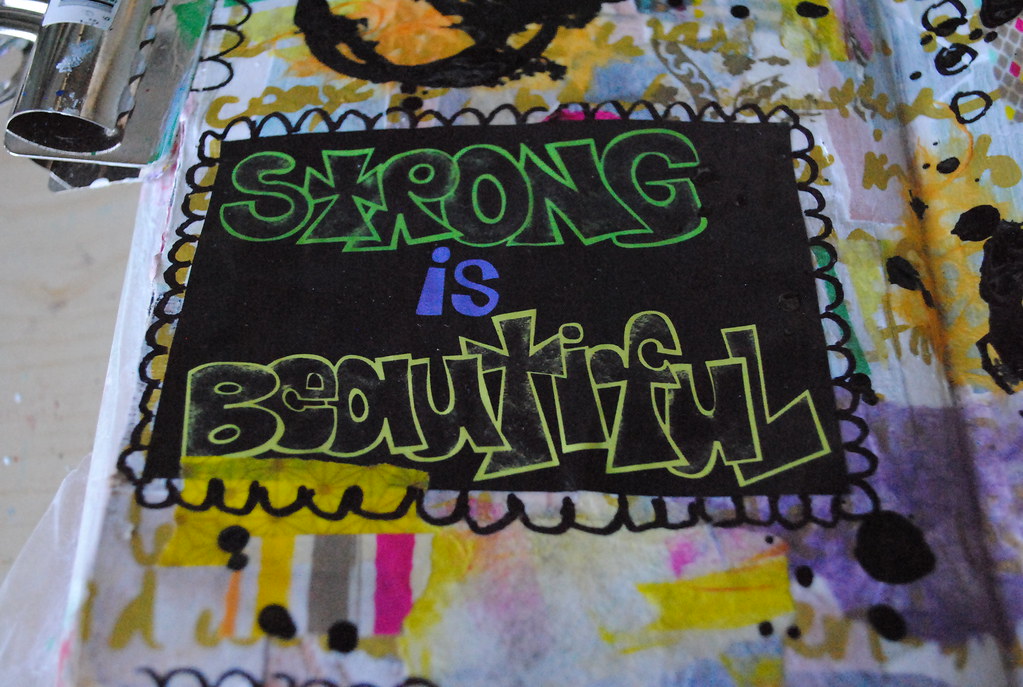
Sketchbook Pages: Strong is Beautiful

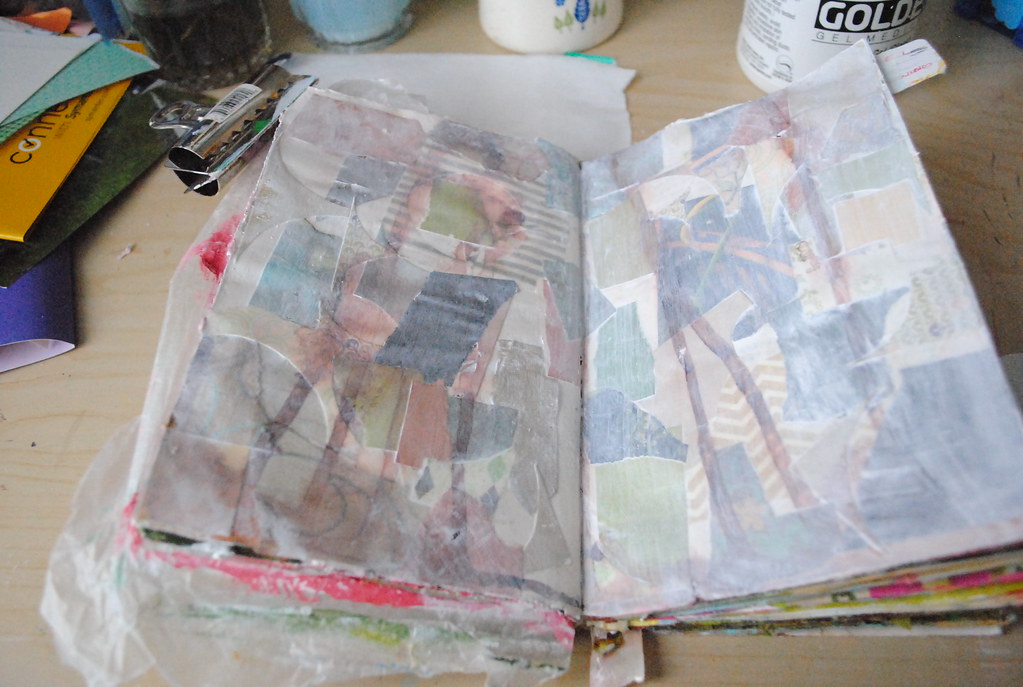
This page started out with a page I half-started back in the fall.
At that time, I gessoed the page before collaging a mix of papers with fall colours. Mostly, I was just cleaning scraps off my desk. I had no idea where to go next, so I dripped some brown India ink from the bottom, wiping away a few bigger splotches. And then I stalled, putting it aside for months. 
Last week, I wanted to start with a clean slate, so I gessoed over everything. Needing to unload a bit, I journalled messily with a gold Sharpie pen. Since it's a paint pen, I sprayed the page with acrylic sealer so that it wouldn't smudge when I added the next layer on top.

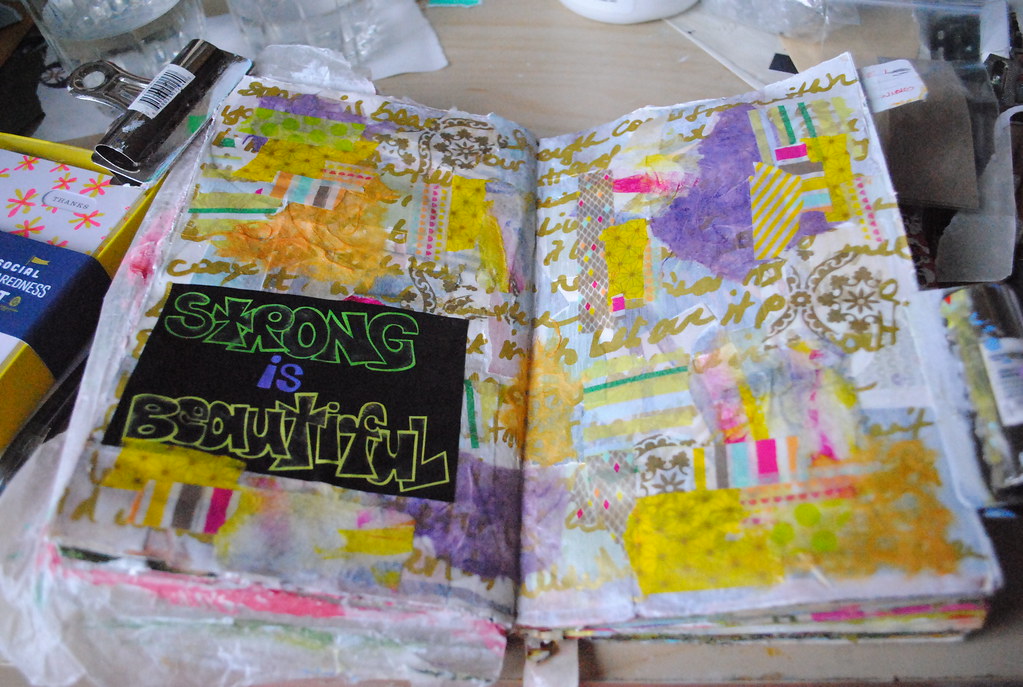
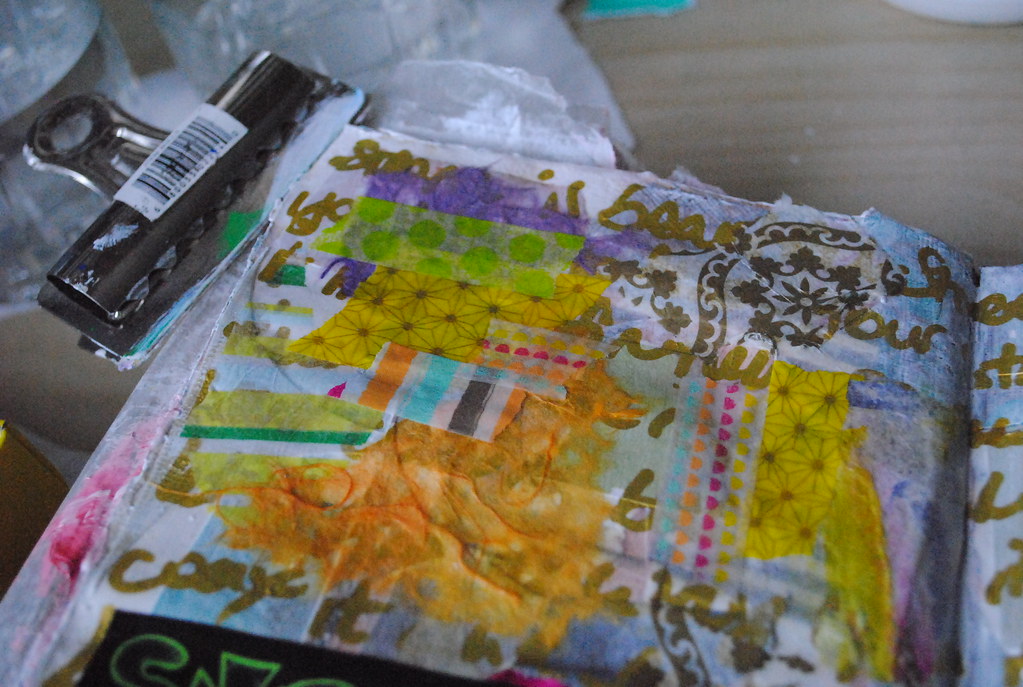
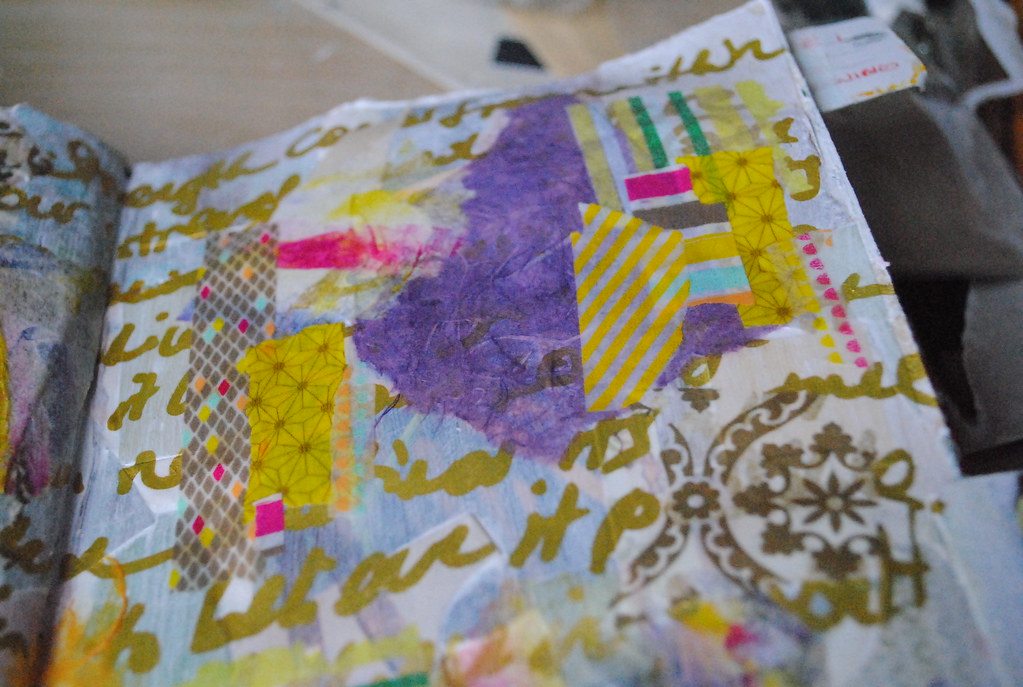
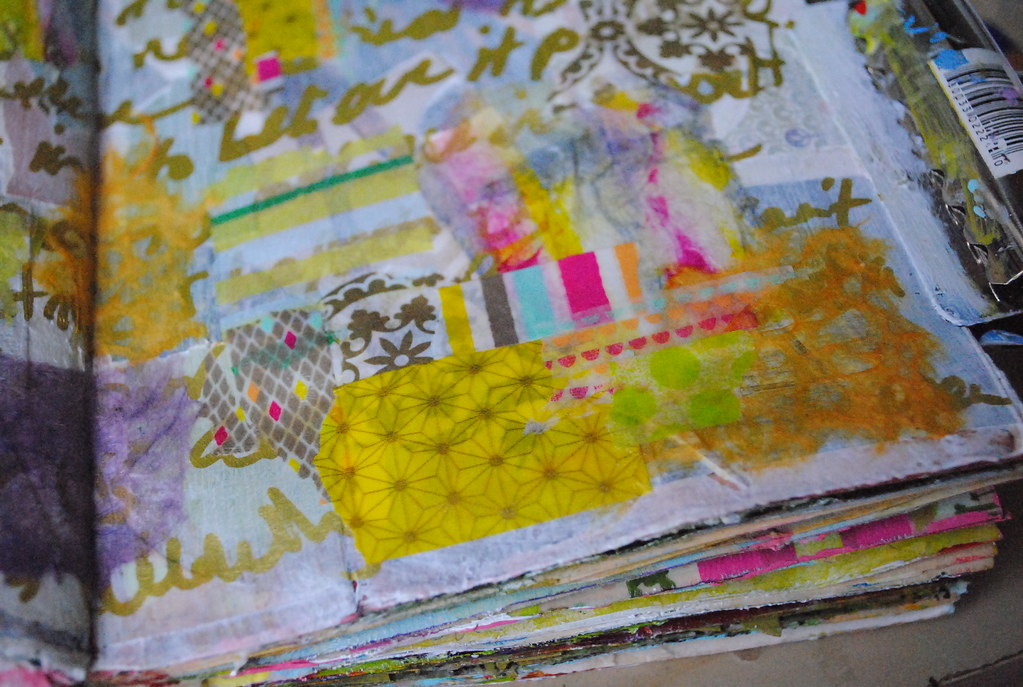
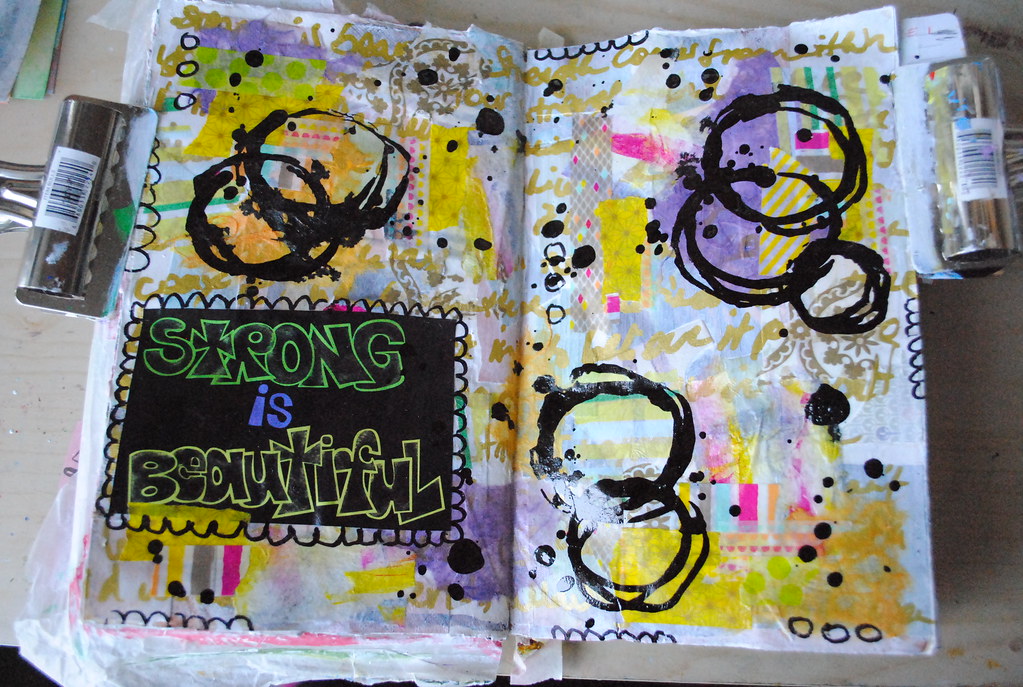
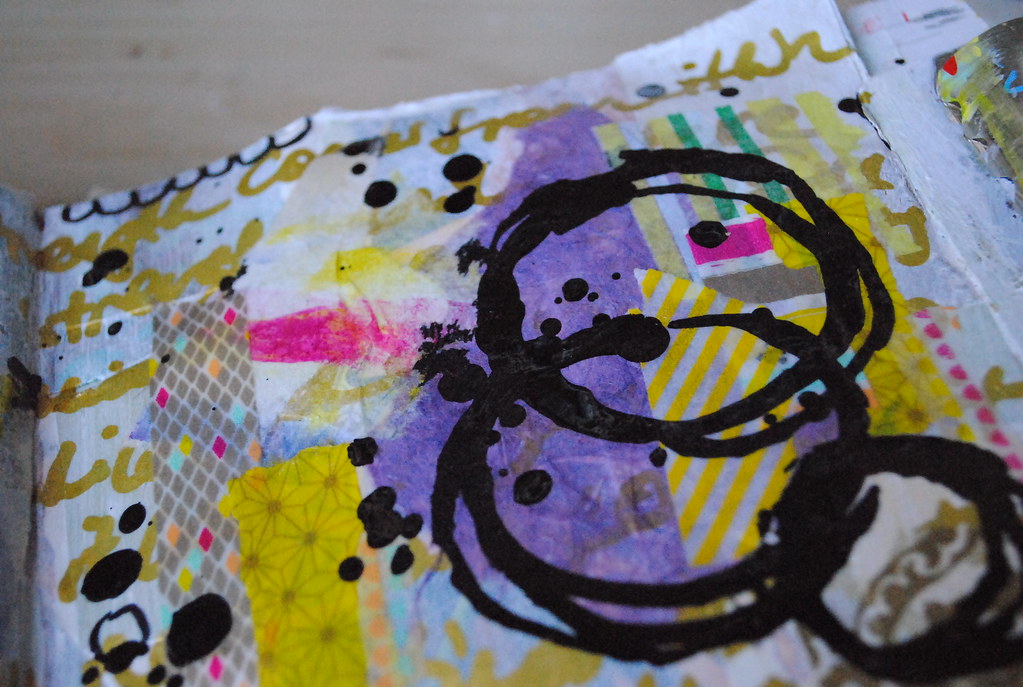
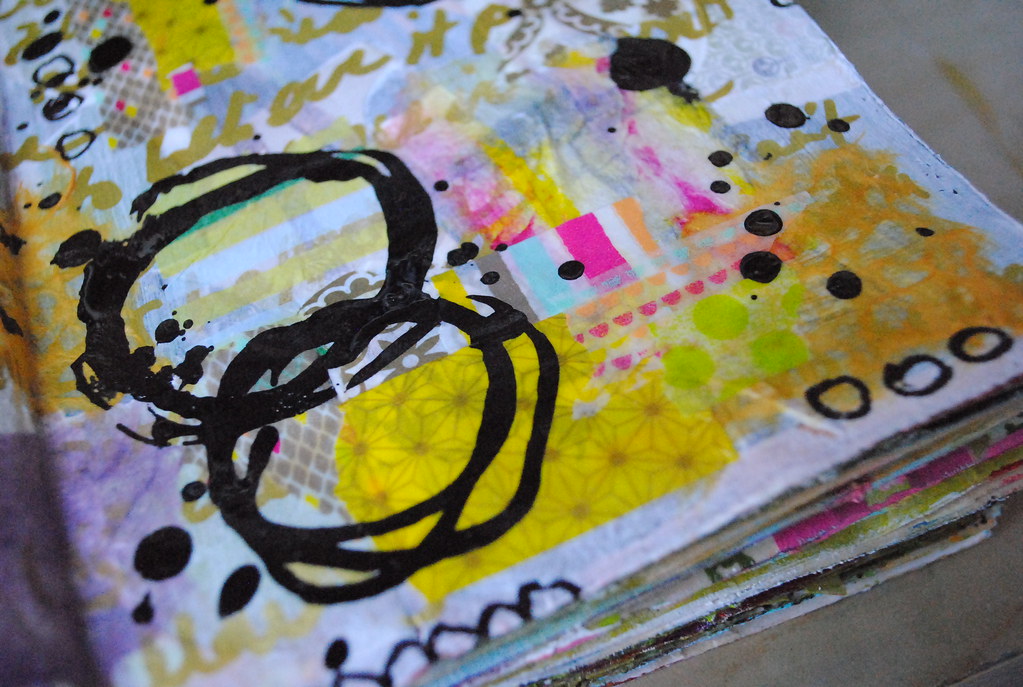
Forgetting to take photos, I moved on. I had a magazine scrap with an inspiring message: strong is beautiful. So I chose tissue paper and washi tape with colours that were similar to those found in the cut out as well as bits of gold to match the writings.  
The black was overwhelming so I needed to add more to balance the page. First I doodled with a Sharpie and then I added circles and splatter with India ink. And then it was complete: 
I love these simple pages full of layers. I use some of my favourite techniques and my favourite supplies and just go. It's very relaxing and satisfying. I really think I'll be able to cross off my long-standing goal of completing this altered book this year - and then I'll jump right into the next!

Saturday, March 7, 2015

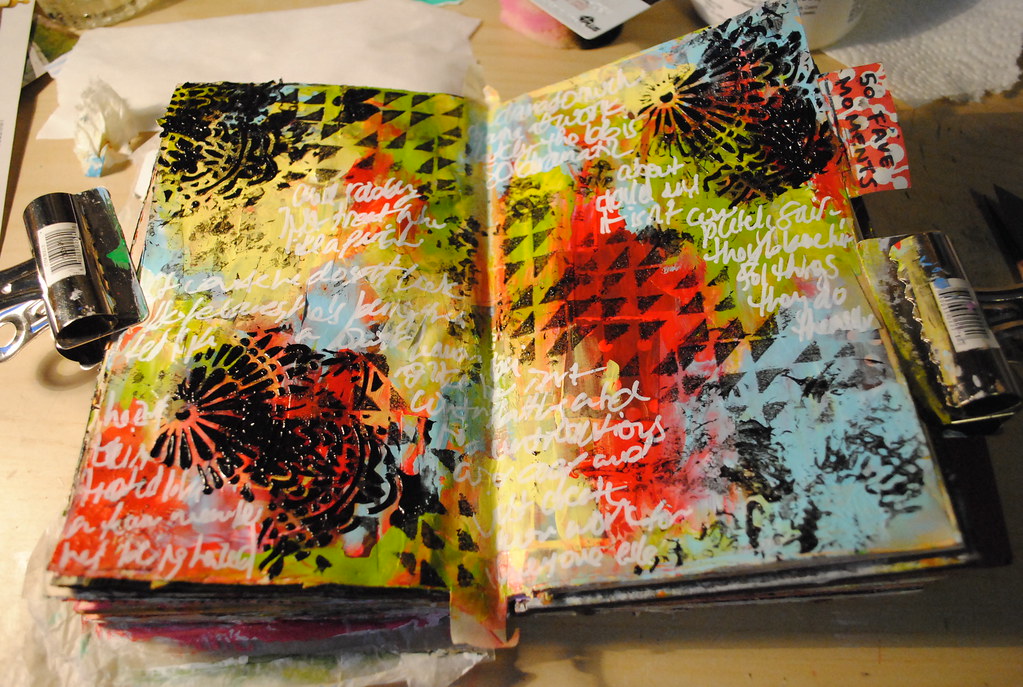
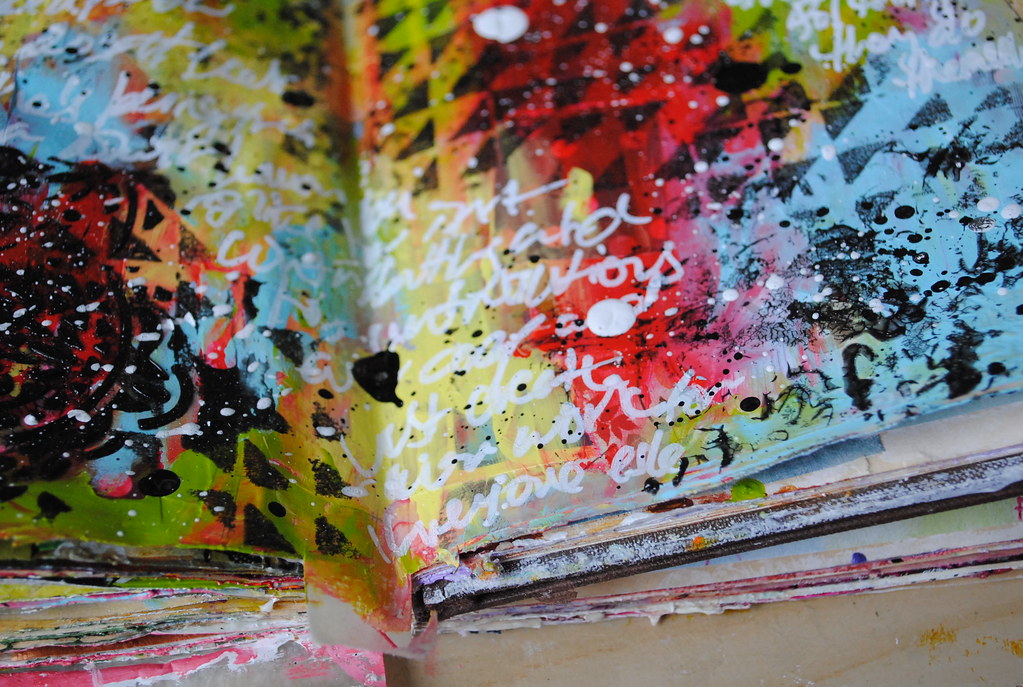
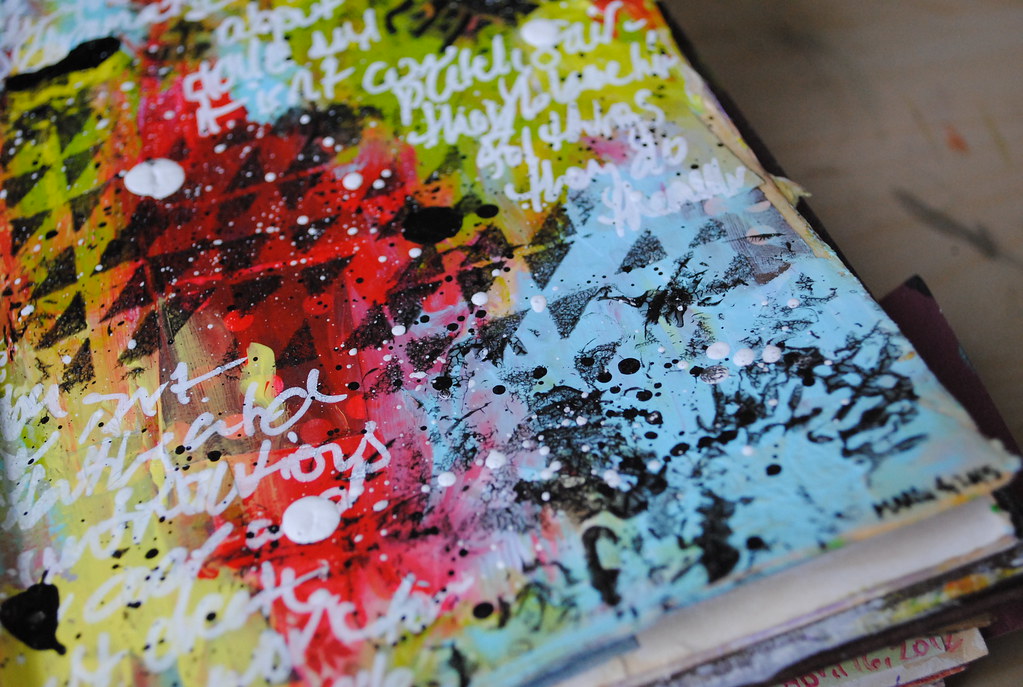
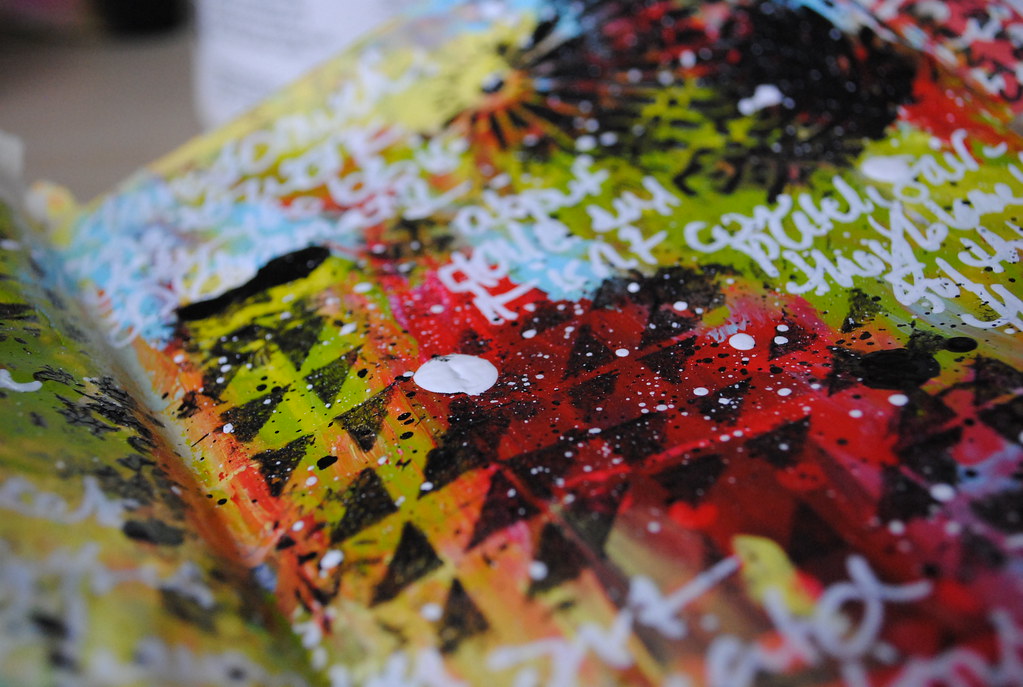
Sketchbook Pages: Joyful Expression

As I mentioned in a previous post, I'm getting back into the crafty swing of things. In fact, this week, I used this page to unwind from a few stressful days at work. In particular, the messy journalling was a great way to let out some steam.

Take a look at the steps I followed:
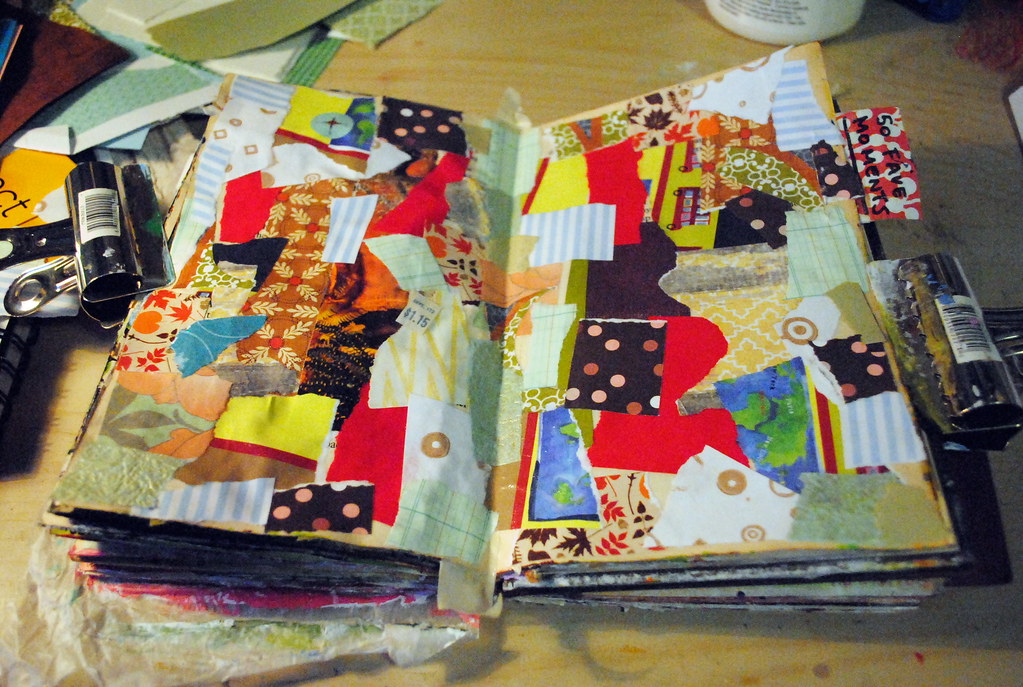
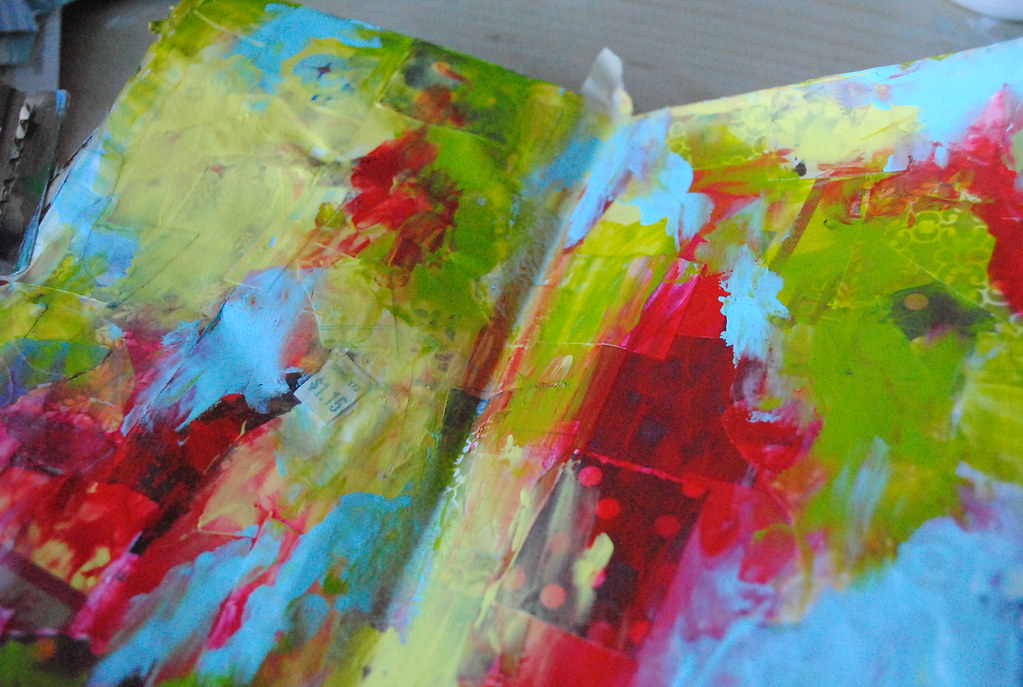
This is in fact where I started this week. This page has been languishing, unfinished since who remembers when - possibly late last year? In any case, at that time, I taped the spine with masking tape and collaged an assortment of paper scraps. Lately, I've been doing this a lot, trying to use up some of the random bits hanging around my desk and craft room.

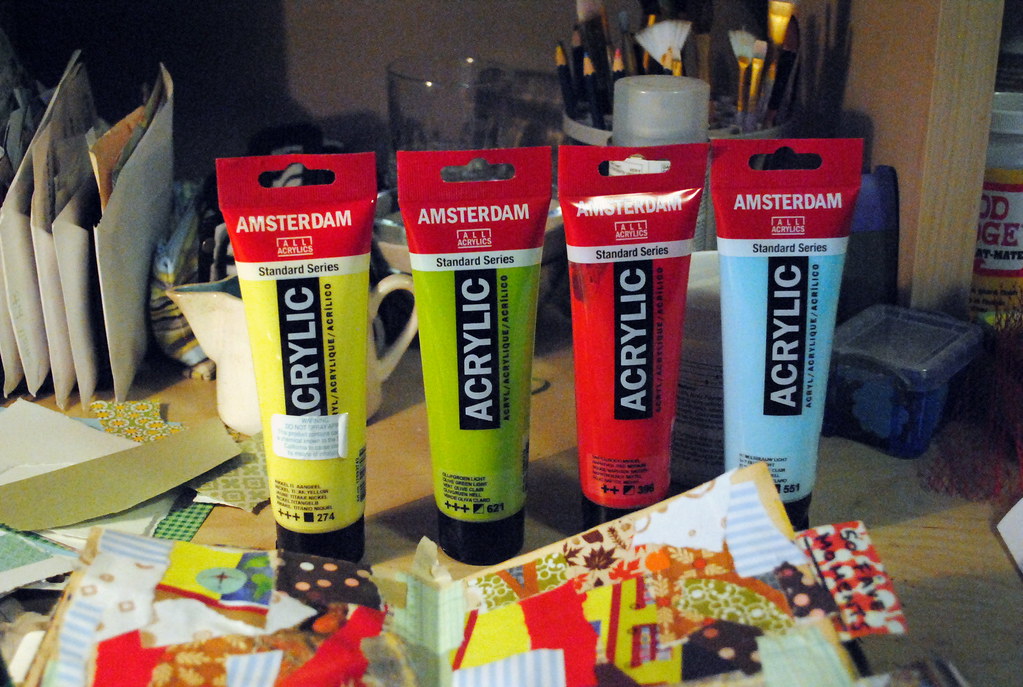
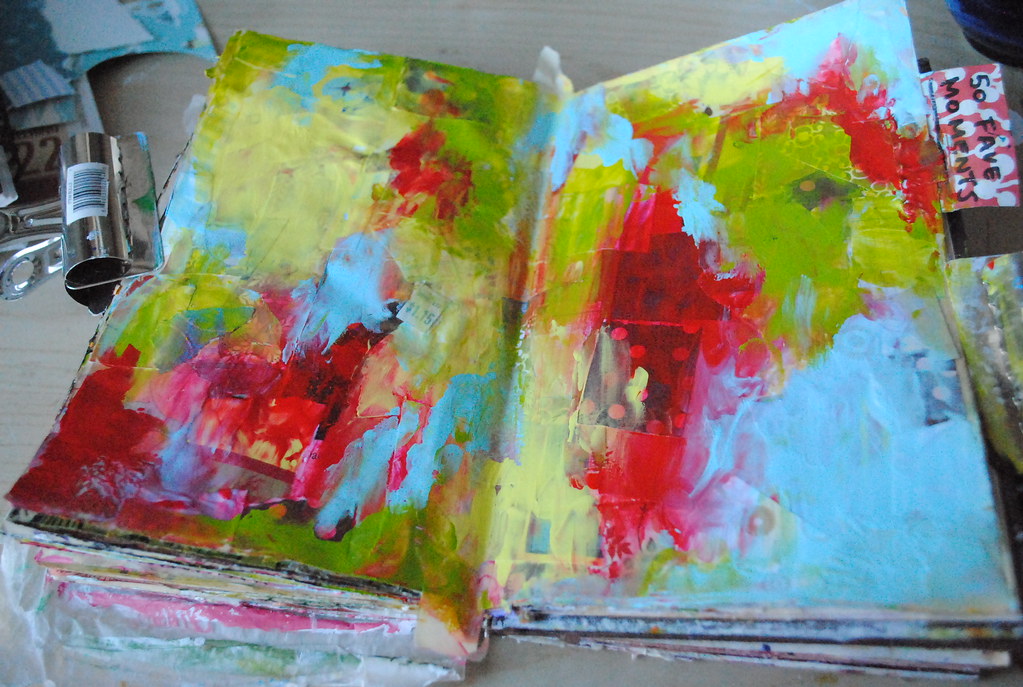
Anyway, earlier this week, I pulled out four favourite paints (Amsterdam acrylics in nickel titan yellow, olive green light, naphthol red medium and sky blue light) and went to town using my fingers, mixing in a bit of glazing medium so that the papers would show through.
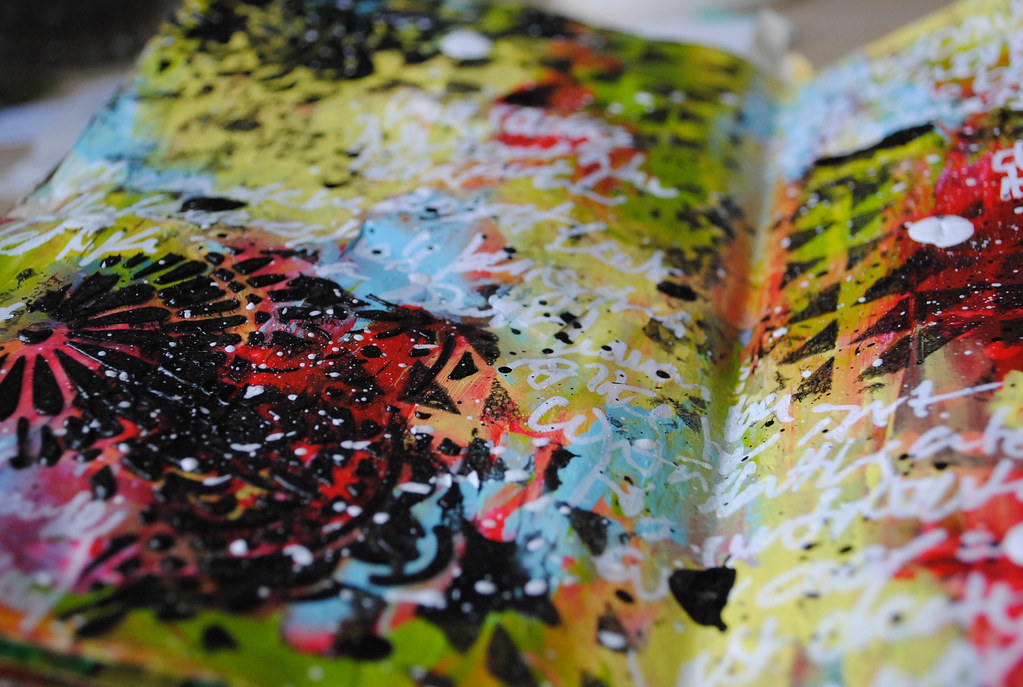
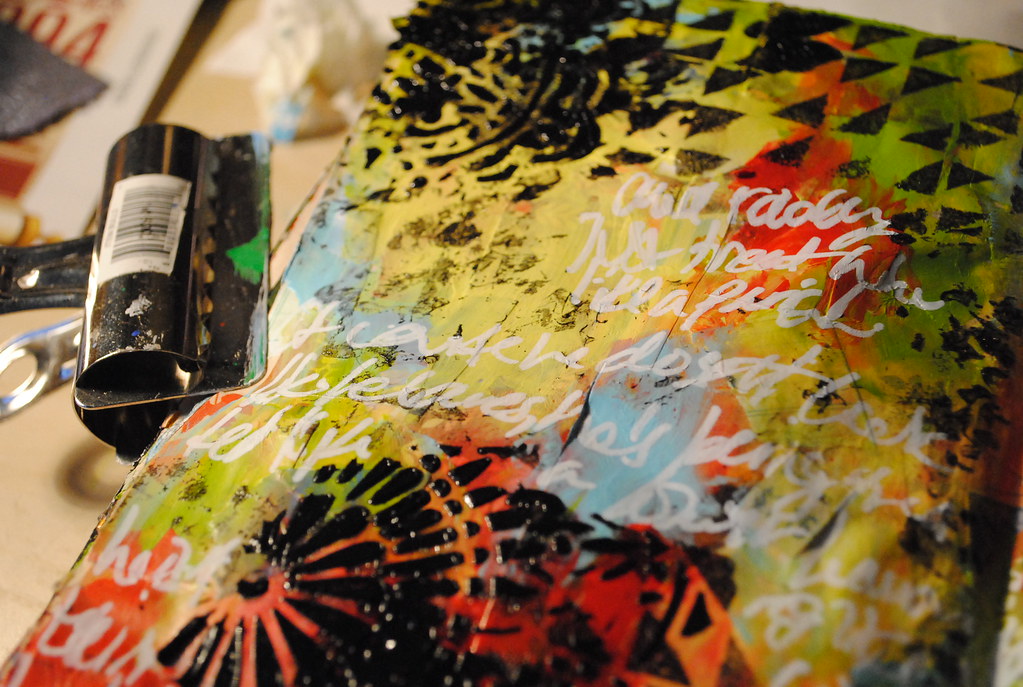
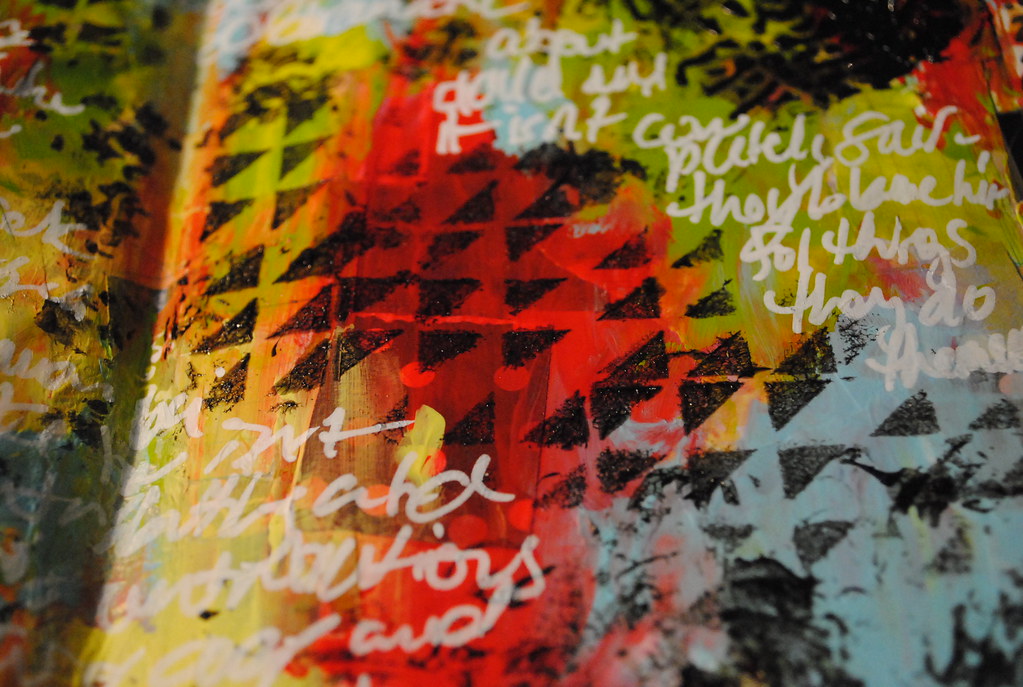
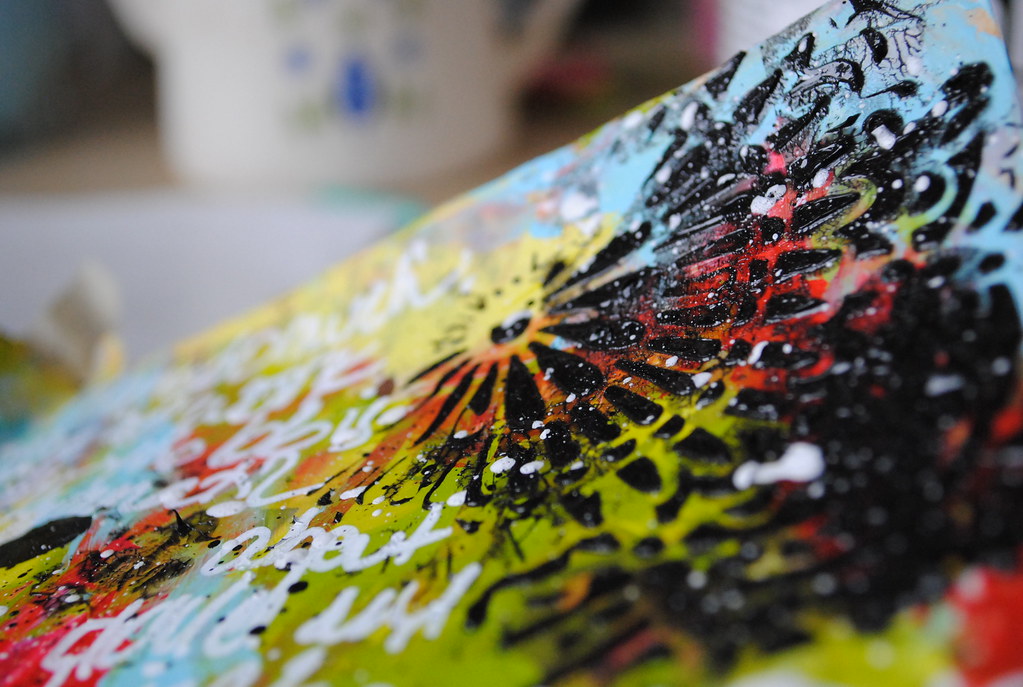
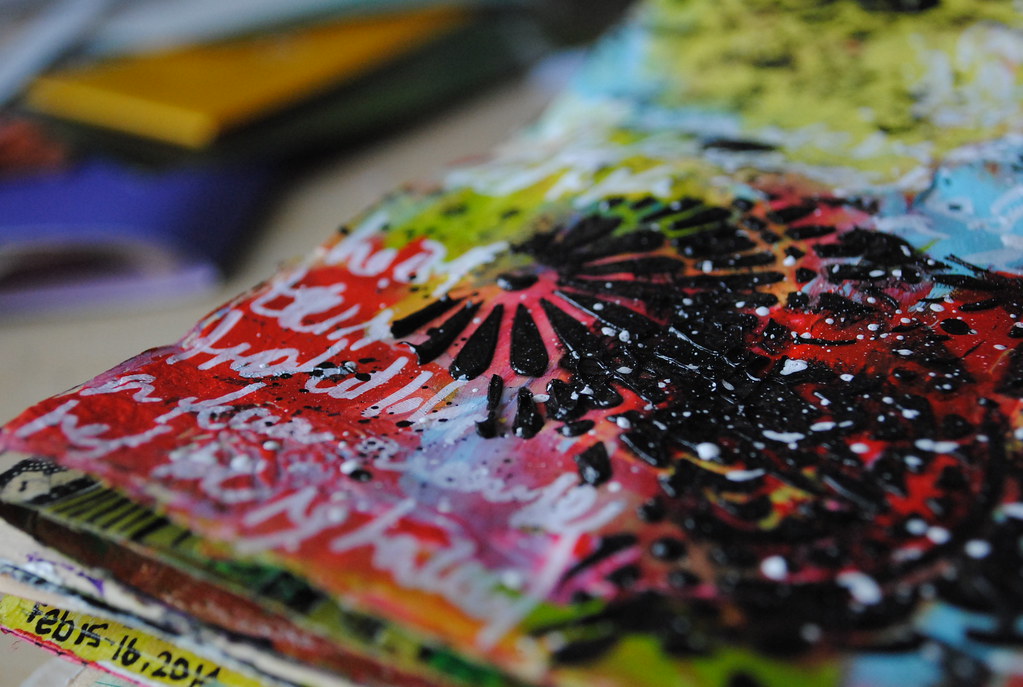
Of course I didn't take photos of the next step since it was late and dark but I knew I wanted to add in some texture using a couple stencils and black paint (Golden Mars black). I used a sponge with the triangle stencil and a palette knife for a thicker application through the doily stencil. I really like how these two different methods resulted in two completely different textures. I love a good tactile page!

The next night, when this layer was good and dry, I unloaded some stress with messy words and a white Sharpie.
I wasn't sure where to go next, but the next day I realized all it needed was a bit of splatter to be complete. I started with black India ink and then repeated with gesso before I was completely satisfied.
This page makes me VERY happy. And excited to get my hands messy again!

Monday, March 2, 2015

The Story Time Sampler: Progress

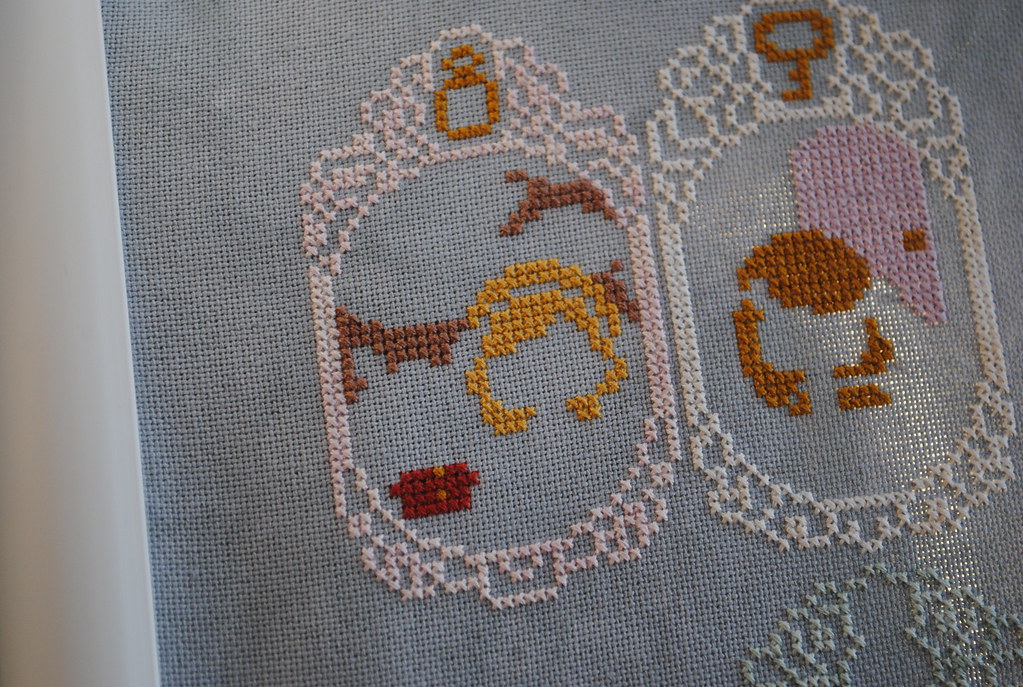
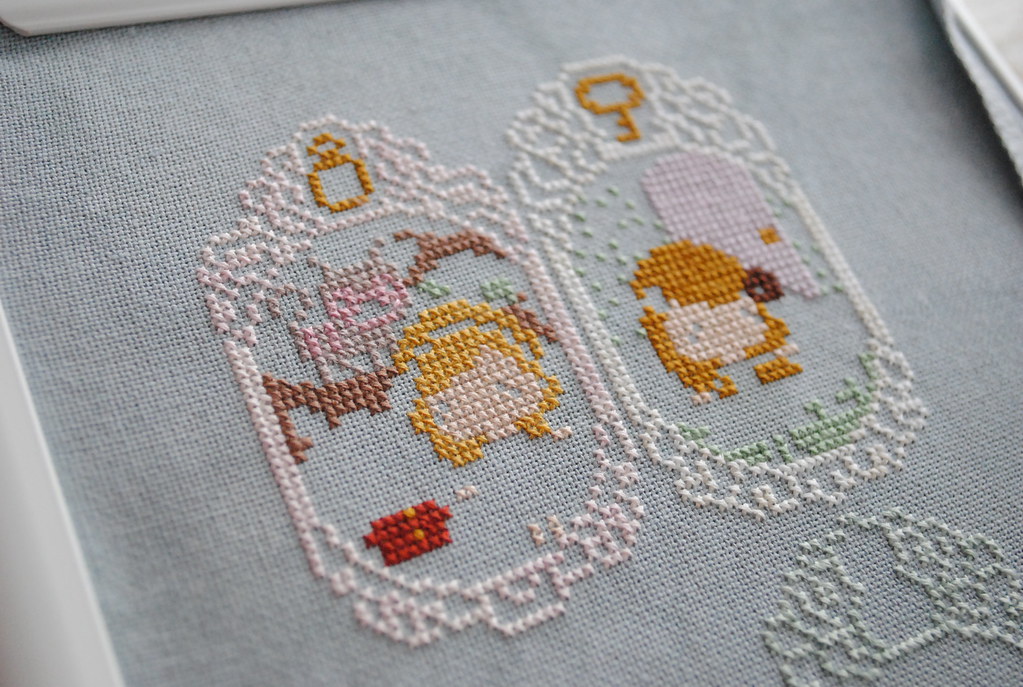
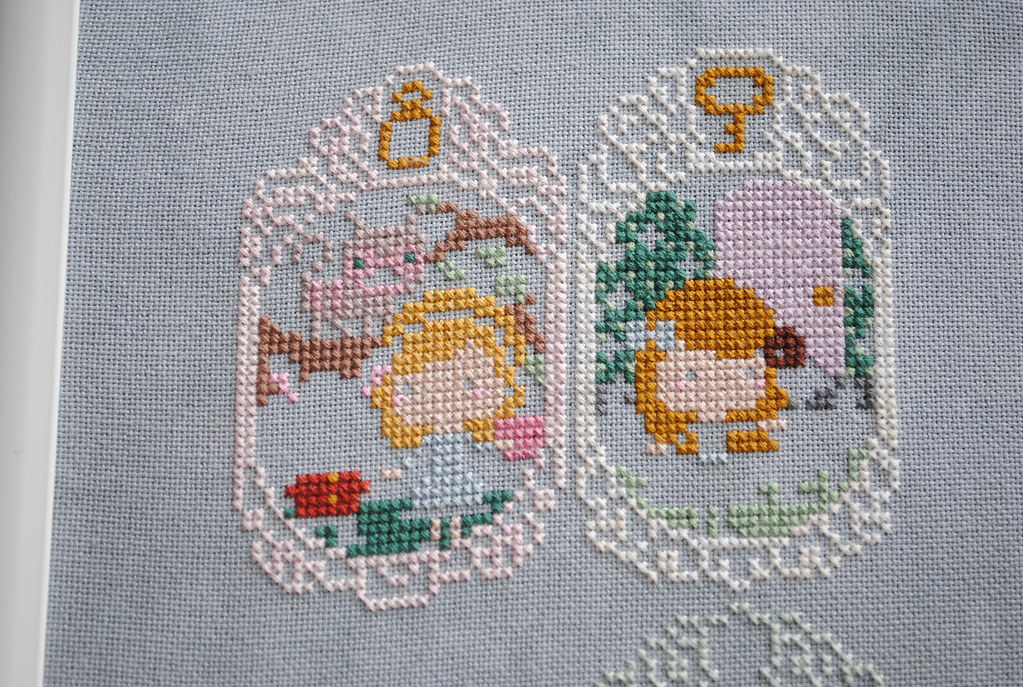
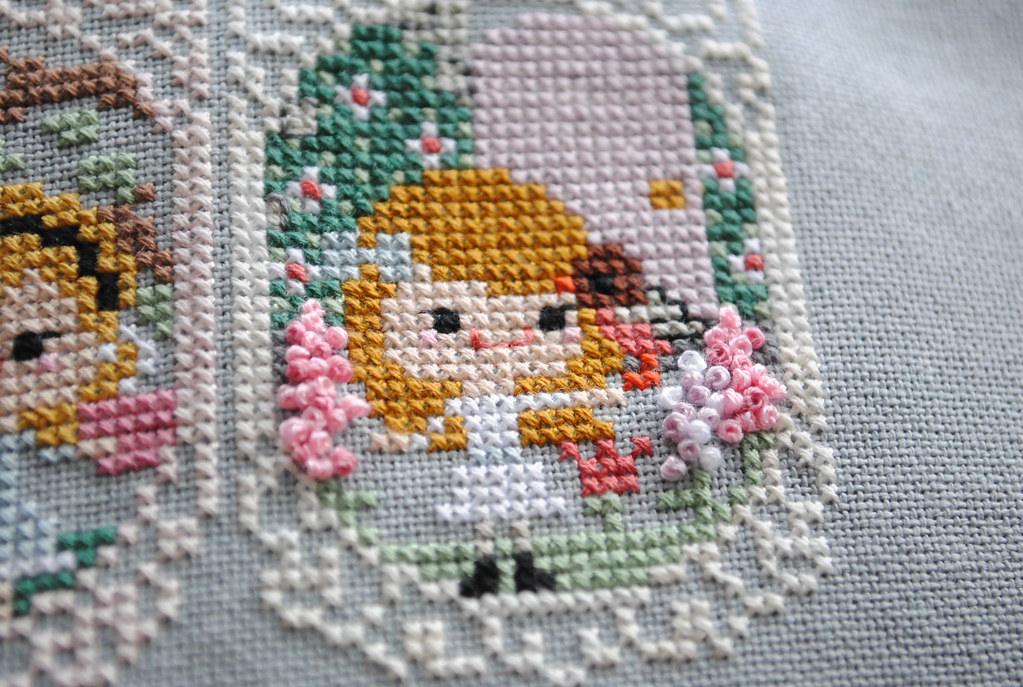
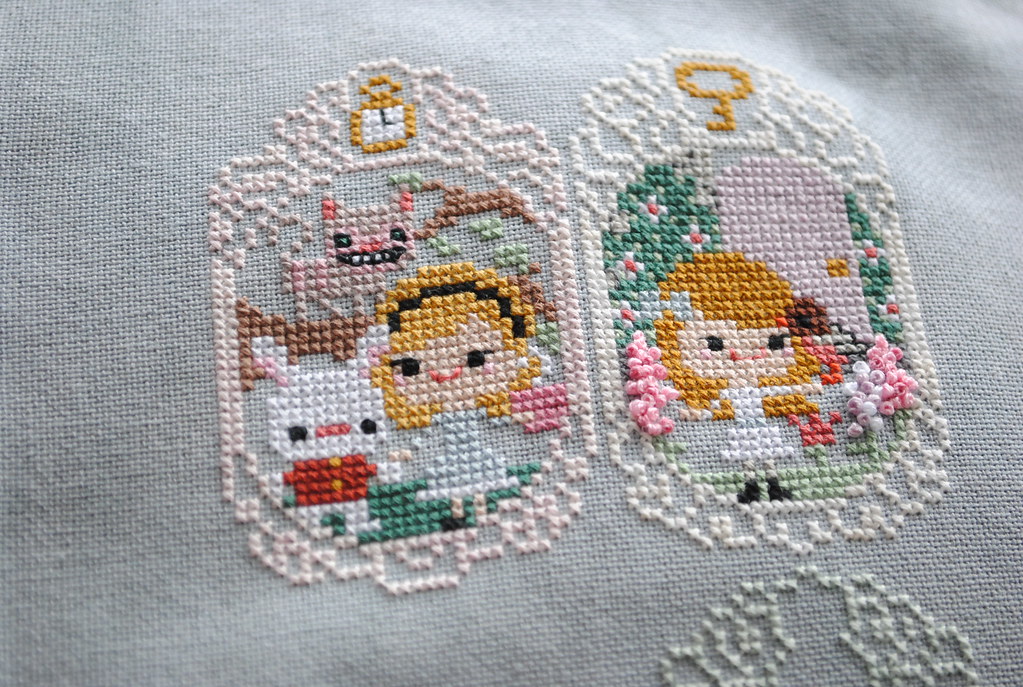
I must say, I'm pretty happy with my progress on the Story Time Sampler, by the Frosted Pumpkin Stitchery. I'm pretty much all caught up, with both January and February frames done. Now I have a whole month to stitch both frame and scene for March. These stitch-a-longs are so much fun and this one is especially cute! Since I like to see works in progress, here's my progress over the last month (I stitched both frames together, one colour at a time):
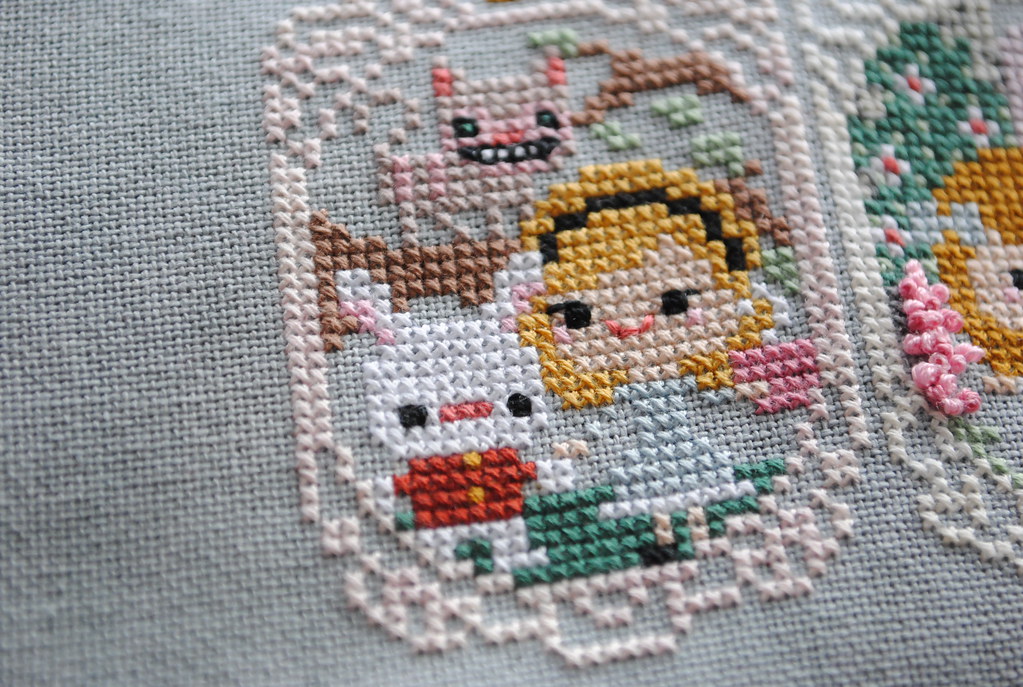
And here they are complete:
I went with a few modifications, all inspired by the Frosted Pumpkin Facebook page or the fact that the dark green and orange threads were out of stock when I ordered my supplies, so I improvised those with thread I had in my stash (both inherited by my aunt as it so happens). The modifications I included: adding in the cat's Cheshire grin and changing his colouring (I didn't like the 2 pinks chosen as I wanted him more purple, so I used some colours from my stash, plus I gave him green eyes with black outlines), back-stitching the robin's wing for more definition and giving him a black back-stitched eye instead of green, and using French knots for the flowers. I really love how those knots look!

Now here's hoping I can finish up March by the end of the month - with everything going on, we'll see how much stitching time I actually get!

Sunday, March 1, 2015

Recipe: Coconut Cupcakes

There are some exciting things happening over here... but I can't share just yet. Let's just say things are going to be very busy in the next 2 months! In the meantime, here's that coconut cupcake recipe I promised a while ago.
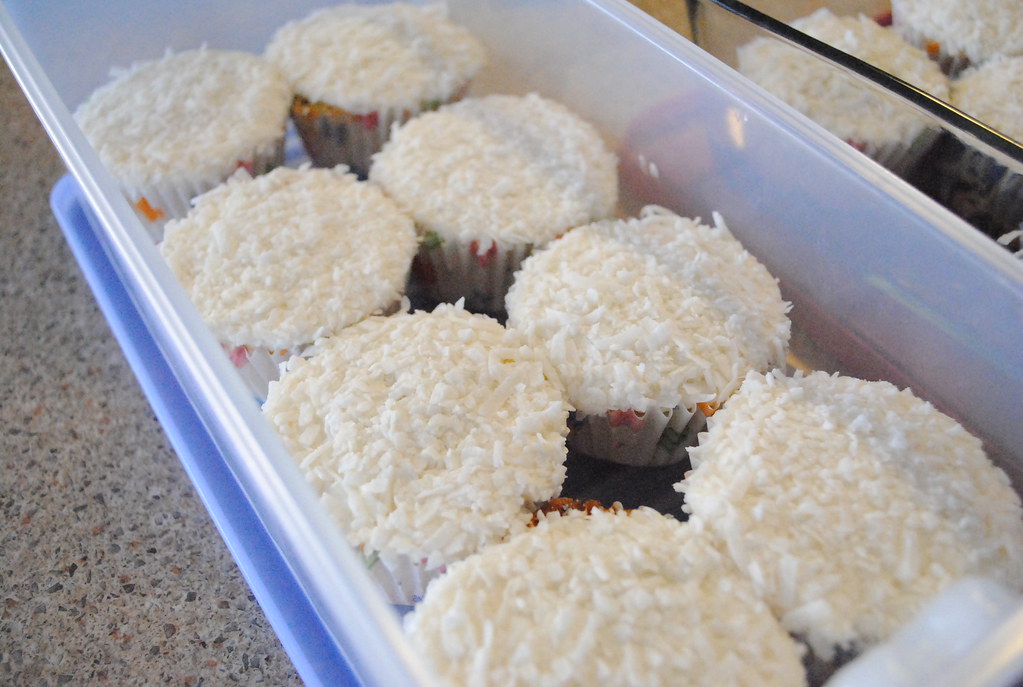
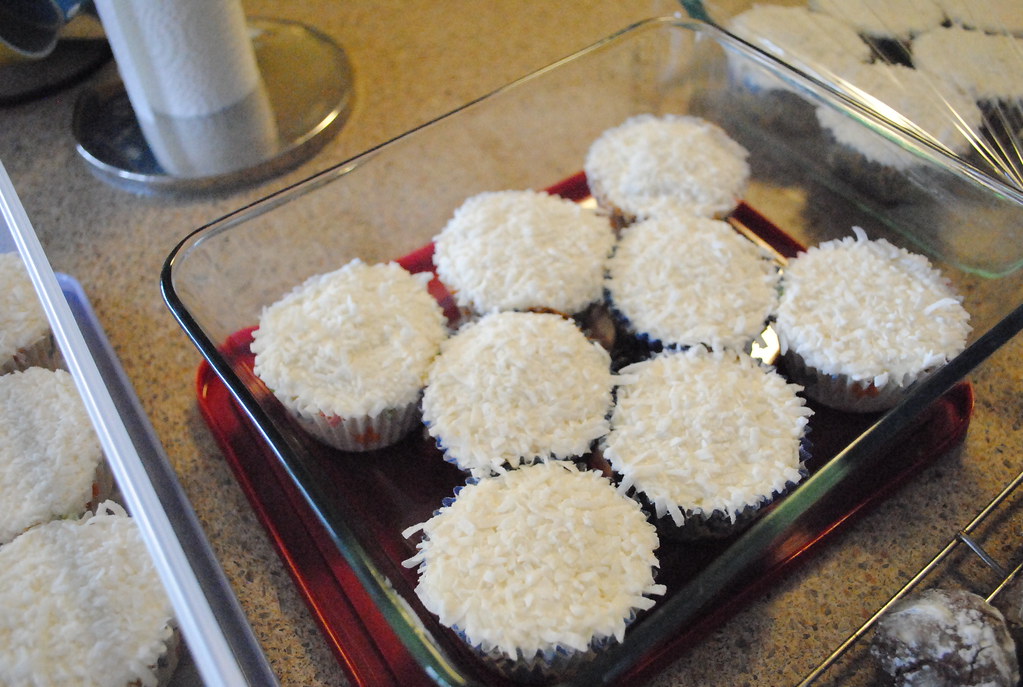
These are my go-to coconut cupcakes - it's a very good recipe I've been using for a number of years which always yields delicious, moist cakes. They freeze really well too. This time, since I was bringing them to a party, I wanted to ice them too. So I found a simple buttercream recipe online and substituted in some of the leftover coconut milk to give it a subtle flavour. Finally, I topped them all off with some shredded coconut for extra texture and a bit of sparkle (from the sugar crystals in the sweetened coconut). These are amazing and easy to make - I highly recommend you whip up a batch for dessert tonight!

Coconut Cupcakes with Coconut Buttercream Icing

Ingredients:

cupcakes:

3/4 cup butter (I've used both salted or unsalted, doesn't make a big difference which you use)
1 1/4 cup sugar
3 eggs
1 cup canned coconut milk, well shaken
1 tsp vanilla
2 1/4 cups flour
1 tsp salt
1 tsp baking powder
1/2 to 3/4 cup dessicated coconut (sweetened or not)

icing:

1/2 cup salted butter
2 tsp vanilla
2 cups icing (powdered) sugar
2 to 3 tbsp coconut milk

sweetened shredded coconut, to garnish

Methods:

cupcakes:

1. Preheat oven to 350F. Prepare your muffin tin with cupcake liners.

2. Cream the butter until fluffy. Cream in the sugar. Add one egg at a time, beating for at least 30 seconds between each one.

3. Mix the flour, salt and baking powder in a separate bowl. Combine the coconut milk and vanilla in another small bowl (or the mixing cup).

4. Alternate adding in dry and wet ingredients to the butter mixture, beating well to incorporate each addition. Start with a third of the dry ingredients, half the wet, another third of the dry, the remaining wet and finally the remaining flour mixture.

5. Fold in the coconut.

6. Fill liners with batter to about 2/3 to 3/4 full. Bake for 18 to 22 minutes, rotating the pan halfway through. Cool completely on a wire rack before icing.

icing:

1. Cream the butter (this time it's important to use salted).

2. Beat in the icing sugar (since powdered sugar goes stale, make sure to use a fresh bag).

3. Mix in the coconut milk and vanilla. Less coconut milk will give a stiffer icing, more will make it more spreadable. Add a bit at a time until you're happy with the consistency.

4. Ice cupcakes, dipping each in a small bowl of shredded coconut to completely cover.
Enjoy!